Settings
February 17th, 2026
The settings panel can be accessed by clicking on Settings in the top navigation.
App Settings
Custom Branding
Here, select your brand color, other colors, brand icon, and font.
Brand Color
You can set this to any color of your choosing.
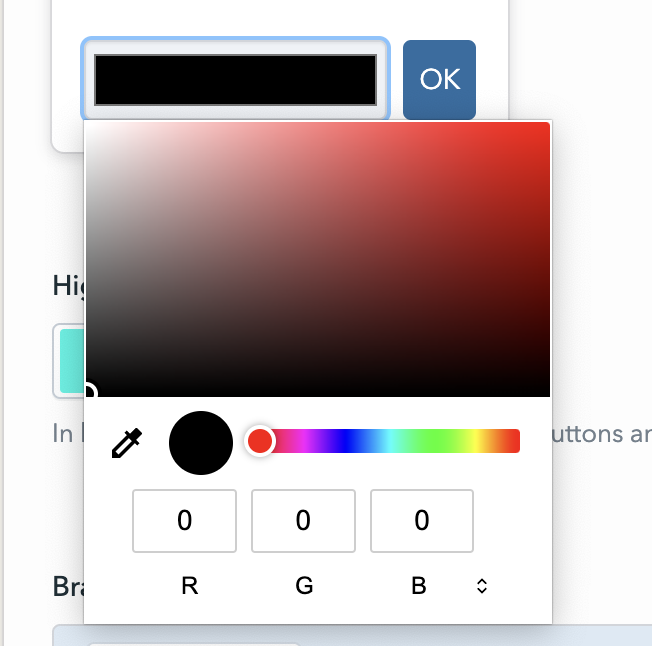
Click on the Pick Color square, then click on the long rectangle at the bottom to select a color.
You can click on the color mode at the bottom of the menu to switch between RGB, HSL, and HEX modes. When finished, click OK.
Click Save at the top of the page to save your changes.
 High Contrast Mode Accent Color
You can choose between three accent colors for high contrast mode.
Brand Icon
Upload a logo to use as your brand icon. Square-dimensioned logos work best.
Fonts
Choose from a selection of font options for your site.
Units
Choose whether you'd like to use Miles or Kilometers for distance units.
Watermarks
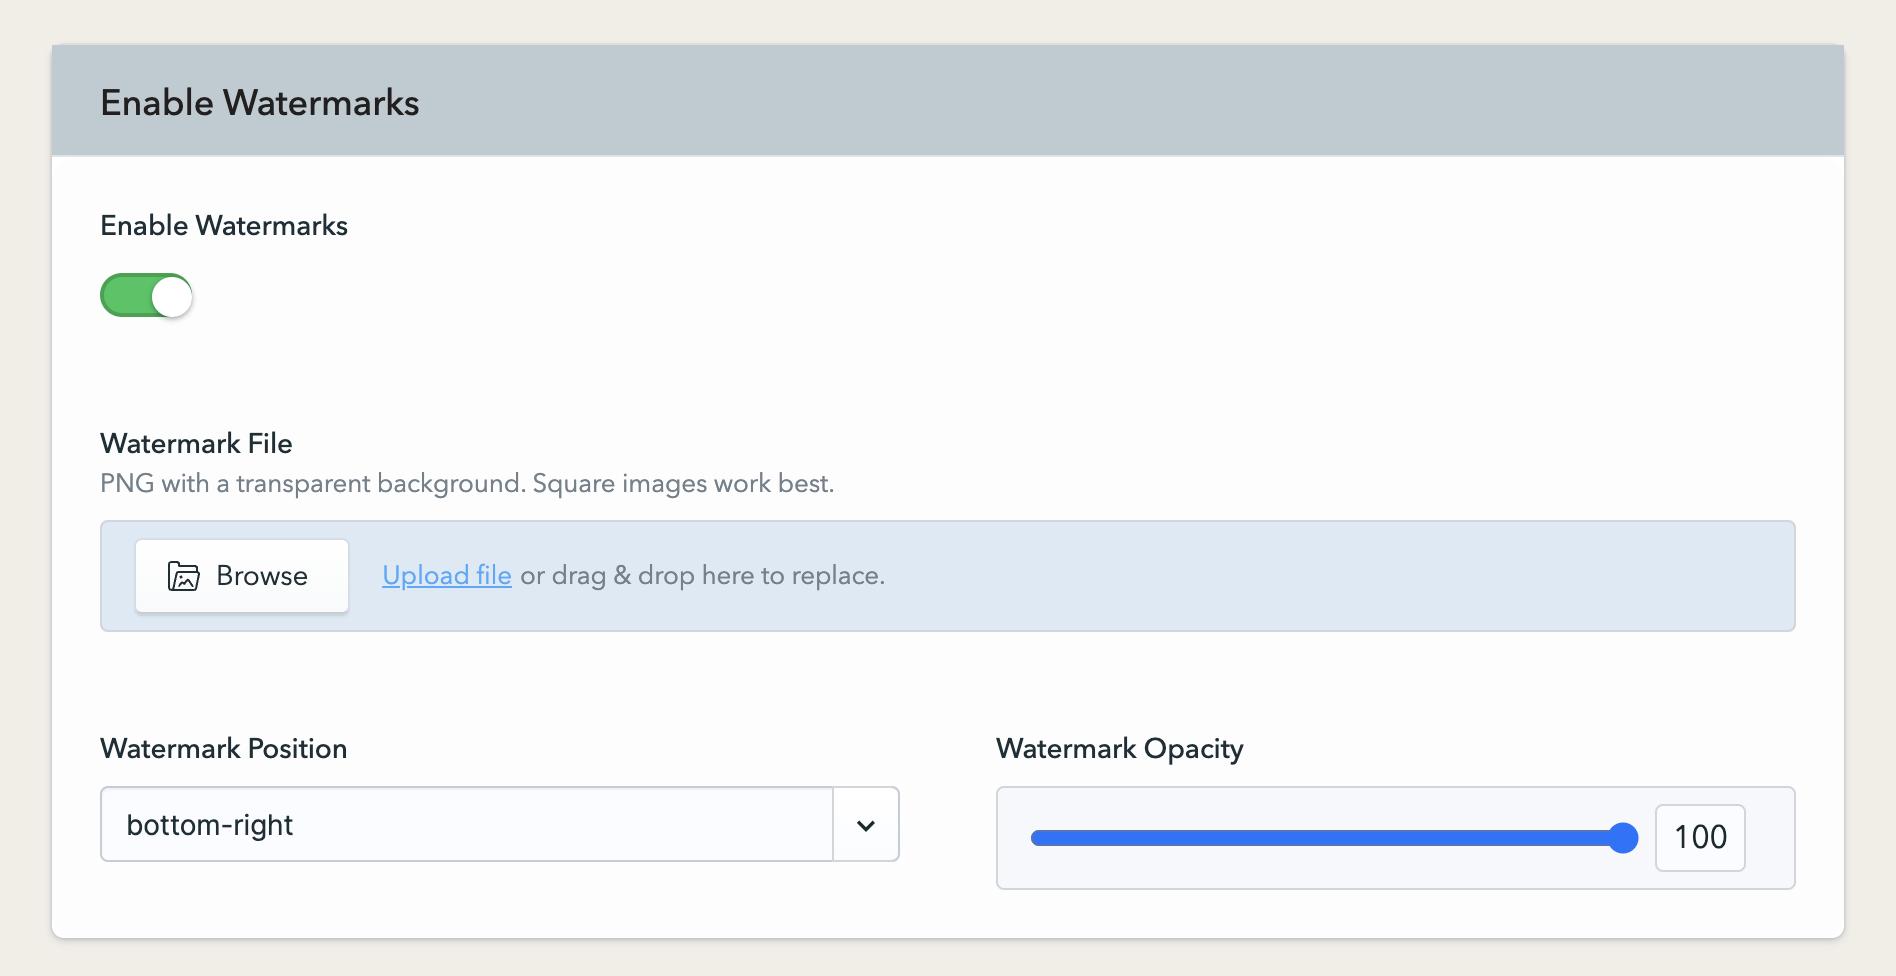
Add watermarks to your images. If enabled, additional settings appear.

Watermark File: Upload a transparent-background PNG to watermark your images.
Watermark Position: Select the location of the watermark on top of the image. You can choose from bottom-left, left, top-left, top, top-right, right, bottom-right, bottom, or center.
Watermark Opacity: Set the opacity (or transparency) level of the watermarking, between 0 and 100. A setting of 0 is fully transparent, while a setting of 100 is fully opaque.
Tour Settings
Tour Start Page
Show Recommendations: If enabled, show a count of visitors who recommend the tour.
Show Tour Stops: If enabled, show the tour stops on tour start page.
Custom Message: Add a custom message to the tour start page.
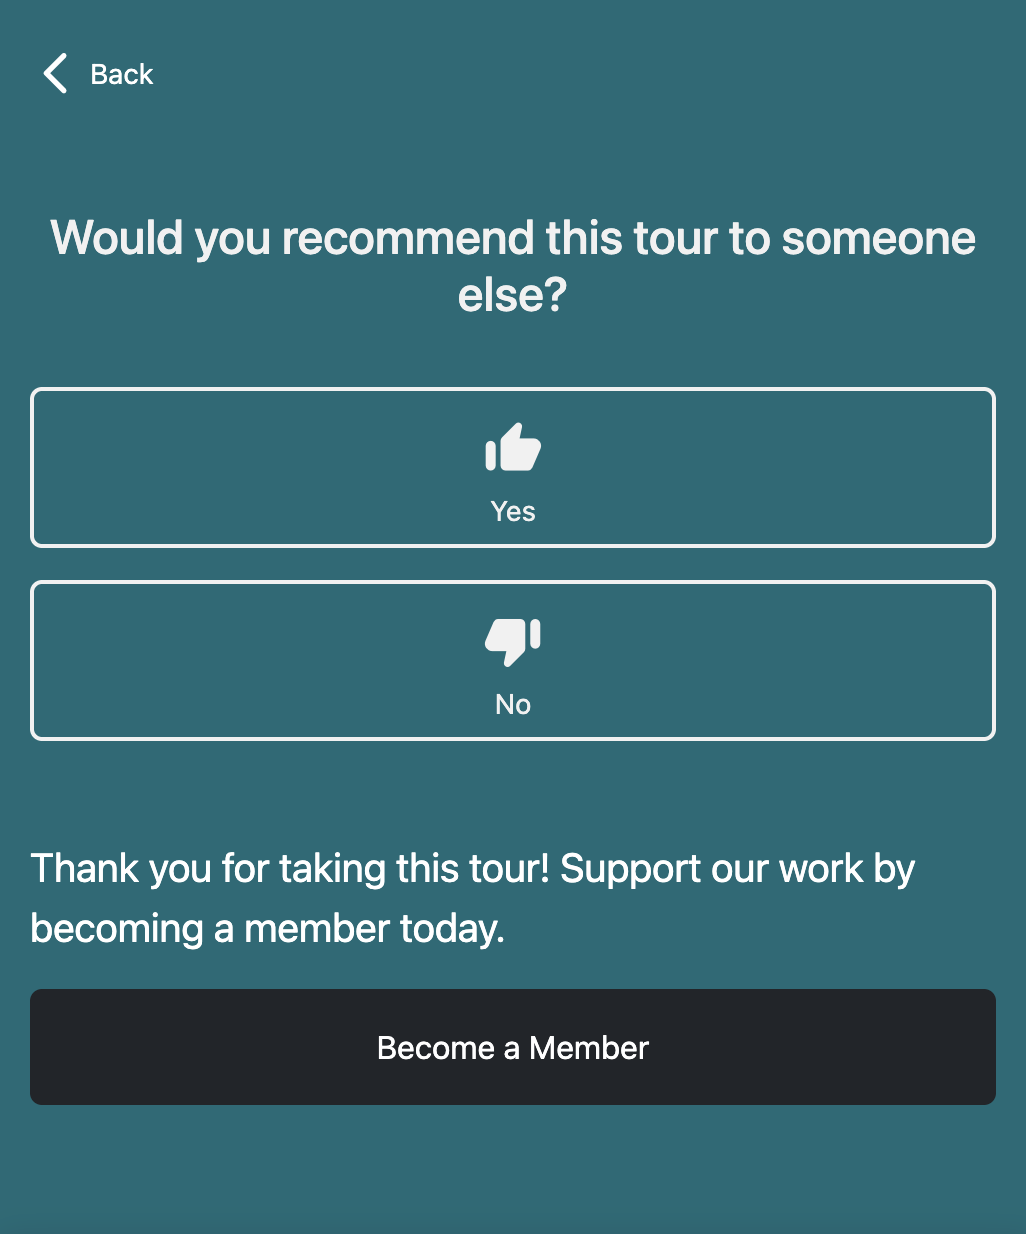
After Tour Completion: Call to Action
After a visitor marks a tour as complete, what action do you want them to take? You can enter any external URL: a page on your website, a mailing list signup form, a survey, or anything else.
You can also enter a custom message to thank the visitor for taking your tour.
