Creating a Tour
December 11th, 2025
Add a new tour
In the top navigation, click on Tours.
On the top-right, click the blue Create Entry button. A dropdown menu appears.
Click Create Tour. The tour creation page appears.
We recommend that each gallery is a separate tour, to not overwhelm visitors.
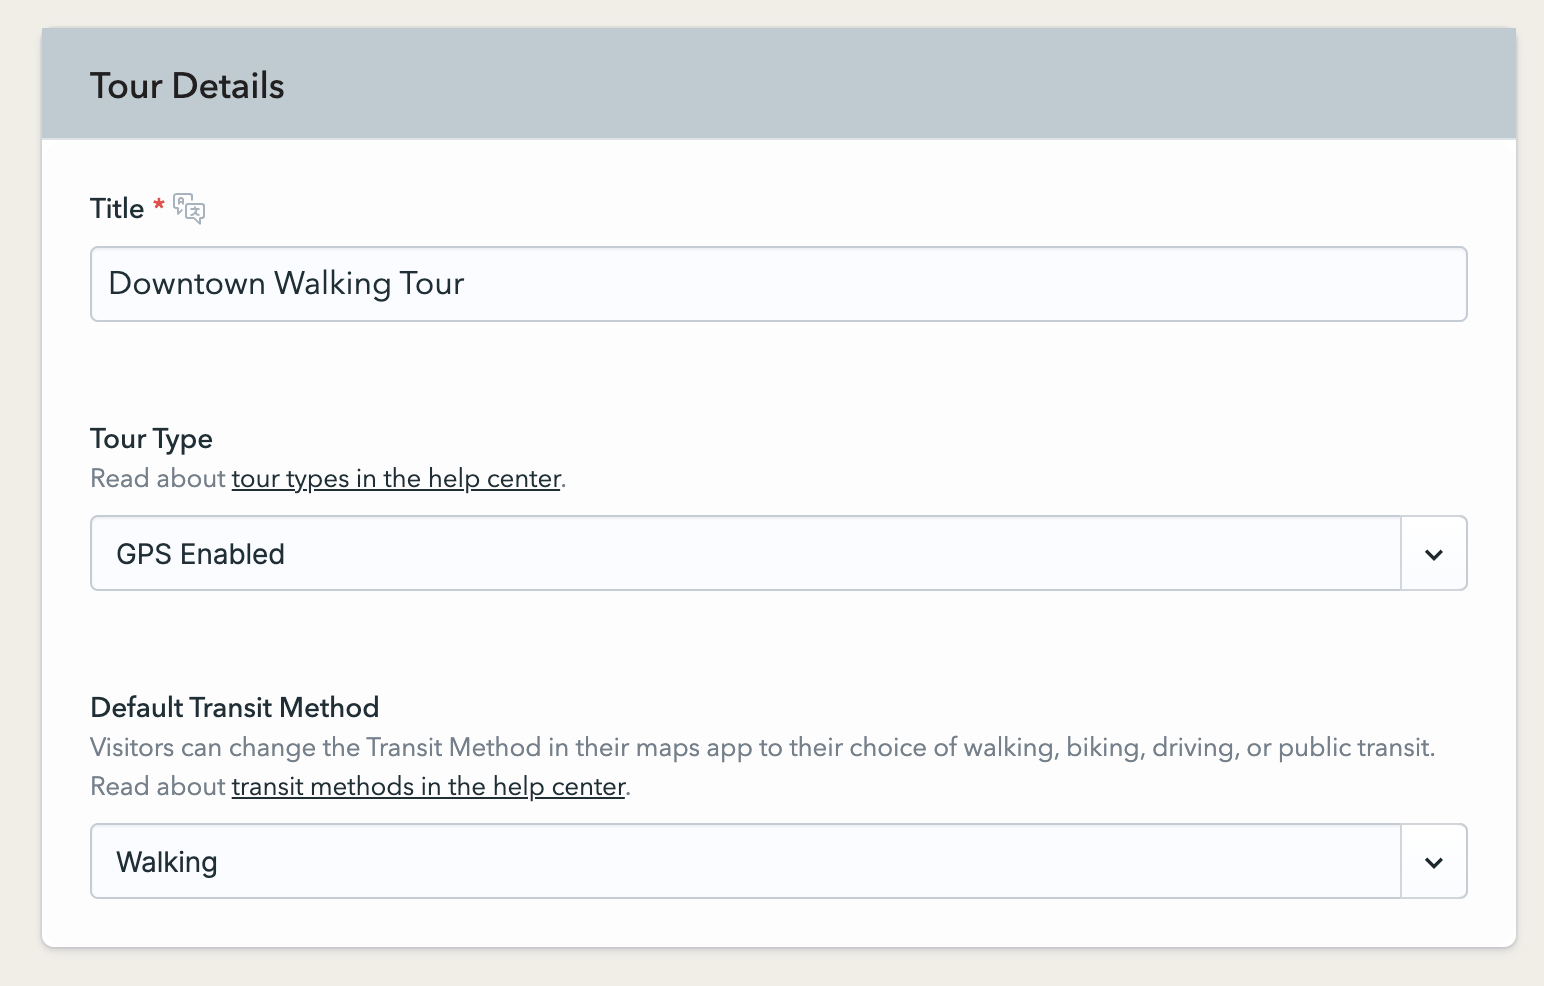
Tour Details
 Title
Title
This is the title of your tour, i.e. Downtown Walking Tour
Tour Type
There are two types of tours you can create: mobile guides and GPS-enabled tours.
Mobile Guide: Each tour stop is a physical place within one gallery or building, that a visitor navigates to by looking for a keypad number or scanning a QR code.
GPS-enabled: Each tour stop is a physical place outside of a gallery or building, that a visitor navigates to with the maps app on their phone.
If you choose GPS-enabled, additional options appear. These include:
Default Transit Method: This sets the default transit method (walking, biking, driving, or public transit) for calculating directions, and calculating the time it will take to reach the next stop. Visitors can change the transit method in their maps app.
Total Distance: How many miles or kilometers is the tour?
Time to Complete: How many hours does the tour take to complete?
Wayfinding
Choose how visitors access tour stops: by scanning a QR code, entering a keypad number, or simply proceeding from one stop to the next.
Featured Image
 The featured image displays at the top of the tour's Start Page, and in the tour listing displayed on the Home Page.
Browse for an existing image file in Media, or upload a new image.
Tour Description
The tour description is a short one to two sentence description of what the tour is about.
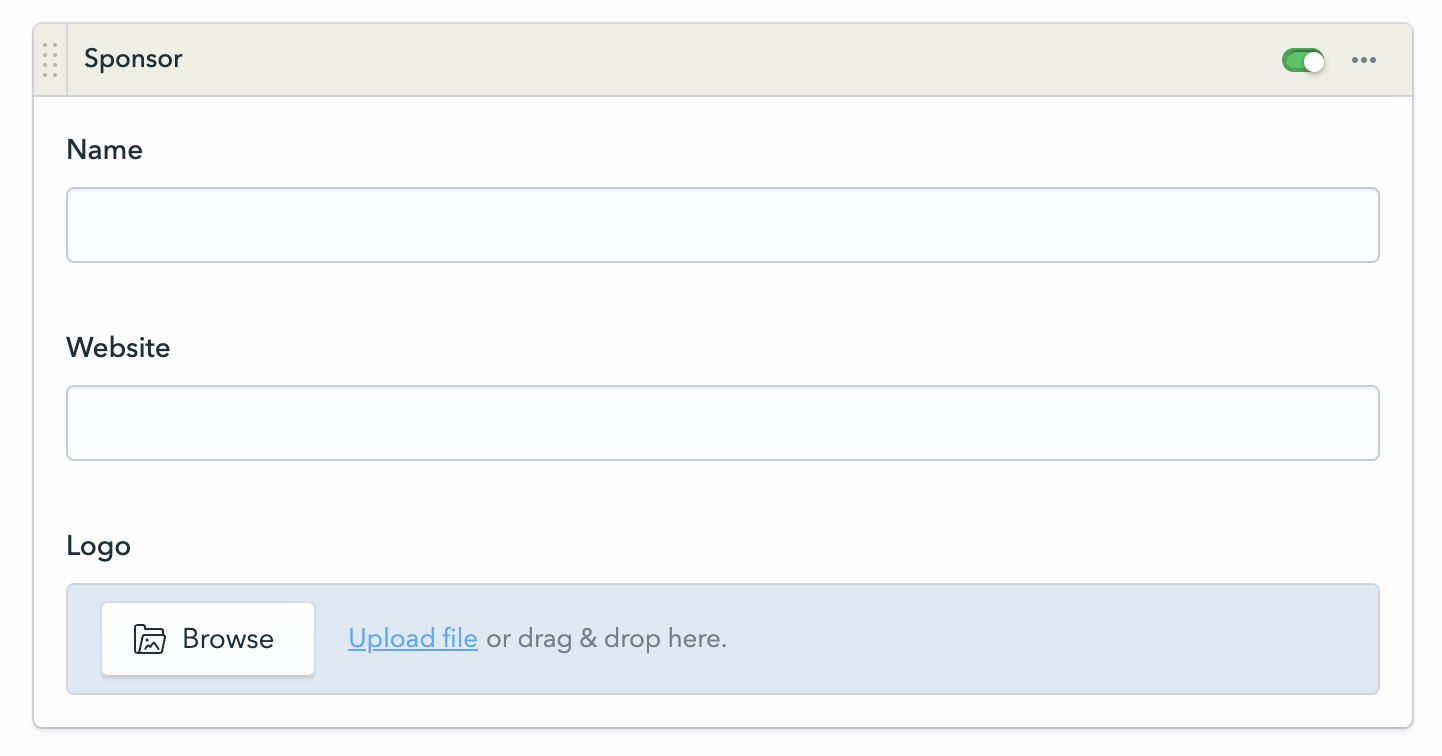
Add Sponsors
You can add up to 5 corporate or community sponsors to each tour.

Click the + button to add a sponsor.
Enter the sponsor's name, website, and add their logo.
To hide a sponsor, click the green toggle at the top right.
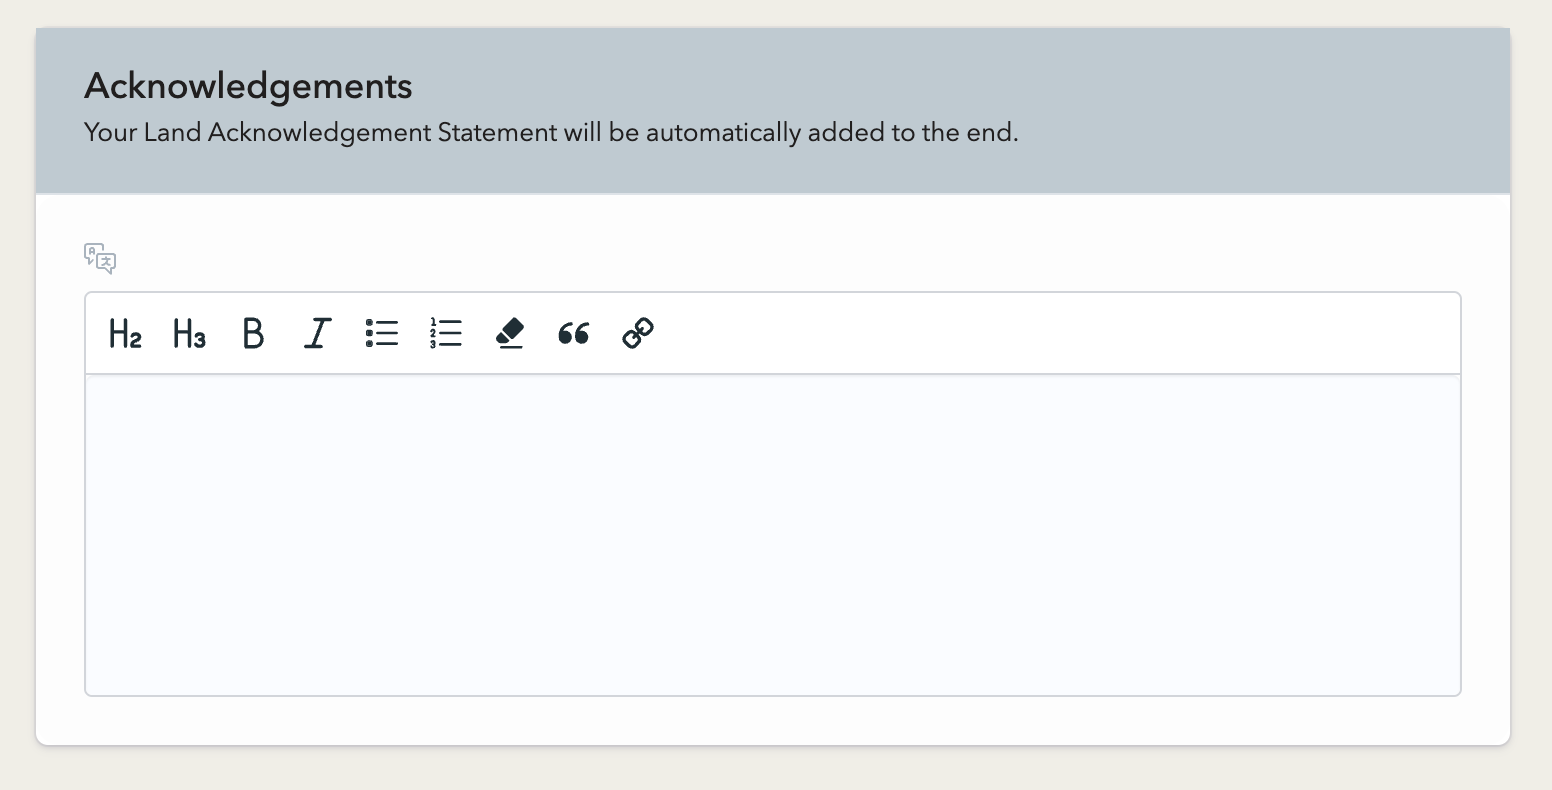
Acknowledgements
Acknowledge staff, volunteers, and others that contributed to the tour with a rich-text field. If you have a land acknowledgement statement, you can add that in your Site Settings, and it will appear at the end of the acknowledgements section for each tour.
Route Map
In the Route Map tab, you can hide or show the route map, add sponsors, and choose a map marker color for your sponsors. If enabled, the tour attributes and the app's bottom navigation show 'Stops’. if disabled, both show ‘Exhibits’.
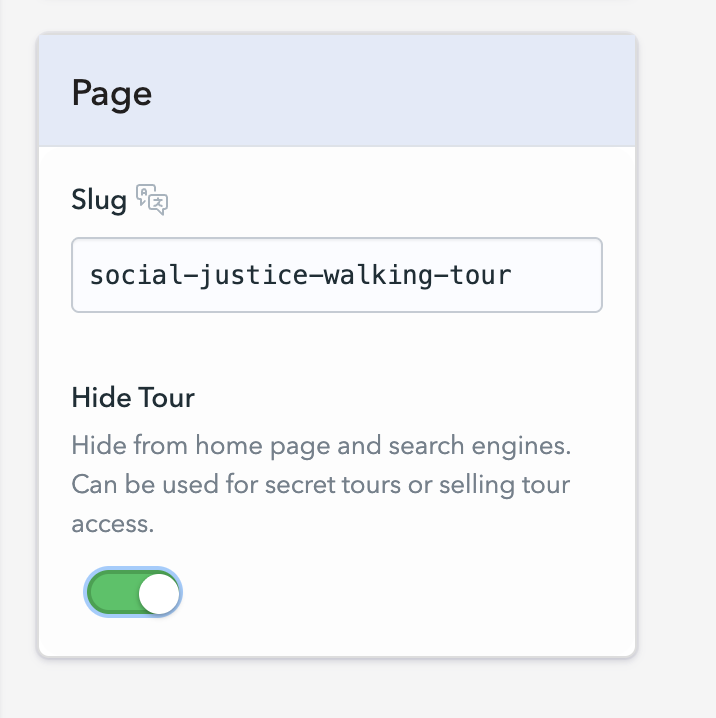
Sidebar
In the sidebar on the right side of the page, you can change the tour's slug, which would change the URL. You can also toggle to hide the tour from the home page and search engines. This can be used for secret tours or selling tour access.

Save the Tour
At the top right of the page is a blue Save & Publish button. Click it to save the tour. Alternatively, you can use the keyboard shortcut to save: Ctrl + S (Win) or CMD + S (Mac).
Next, we'll create a tour stop.